0
Skip to Content
About
The Gallery
The Process
Blog
Contact
Open Menu
Close Menu
About
The Gallery
The Process
Blog
Contact
Open Menu
Close Menu
About
The Gallery
The Process
Blog
Contact
The Collection
›
70 The Raymond
Image 1 of 2
Image 2 of 2
70 The Raymond
$0.00
Add To Cart
Added!

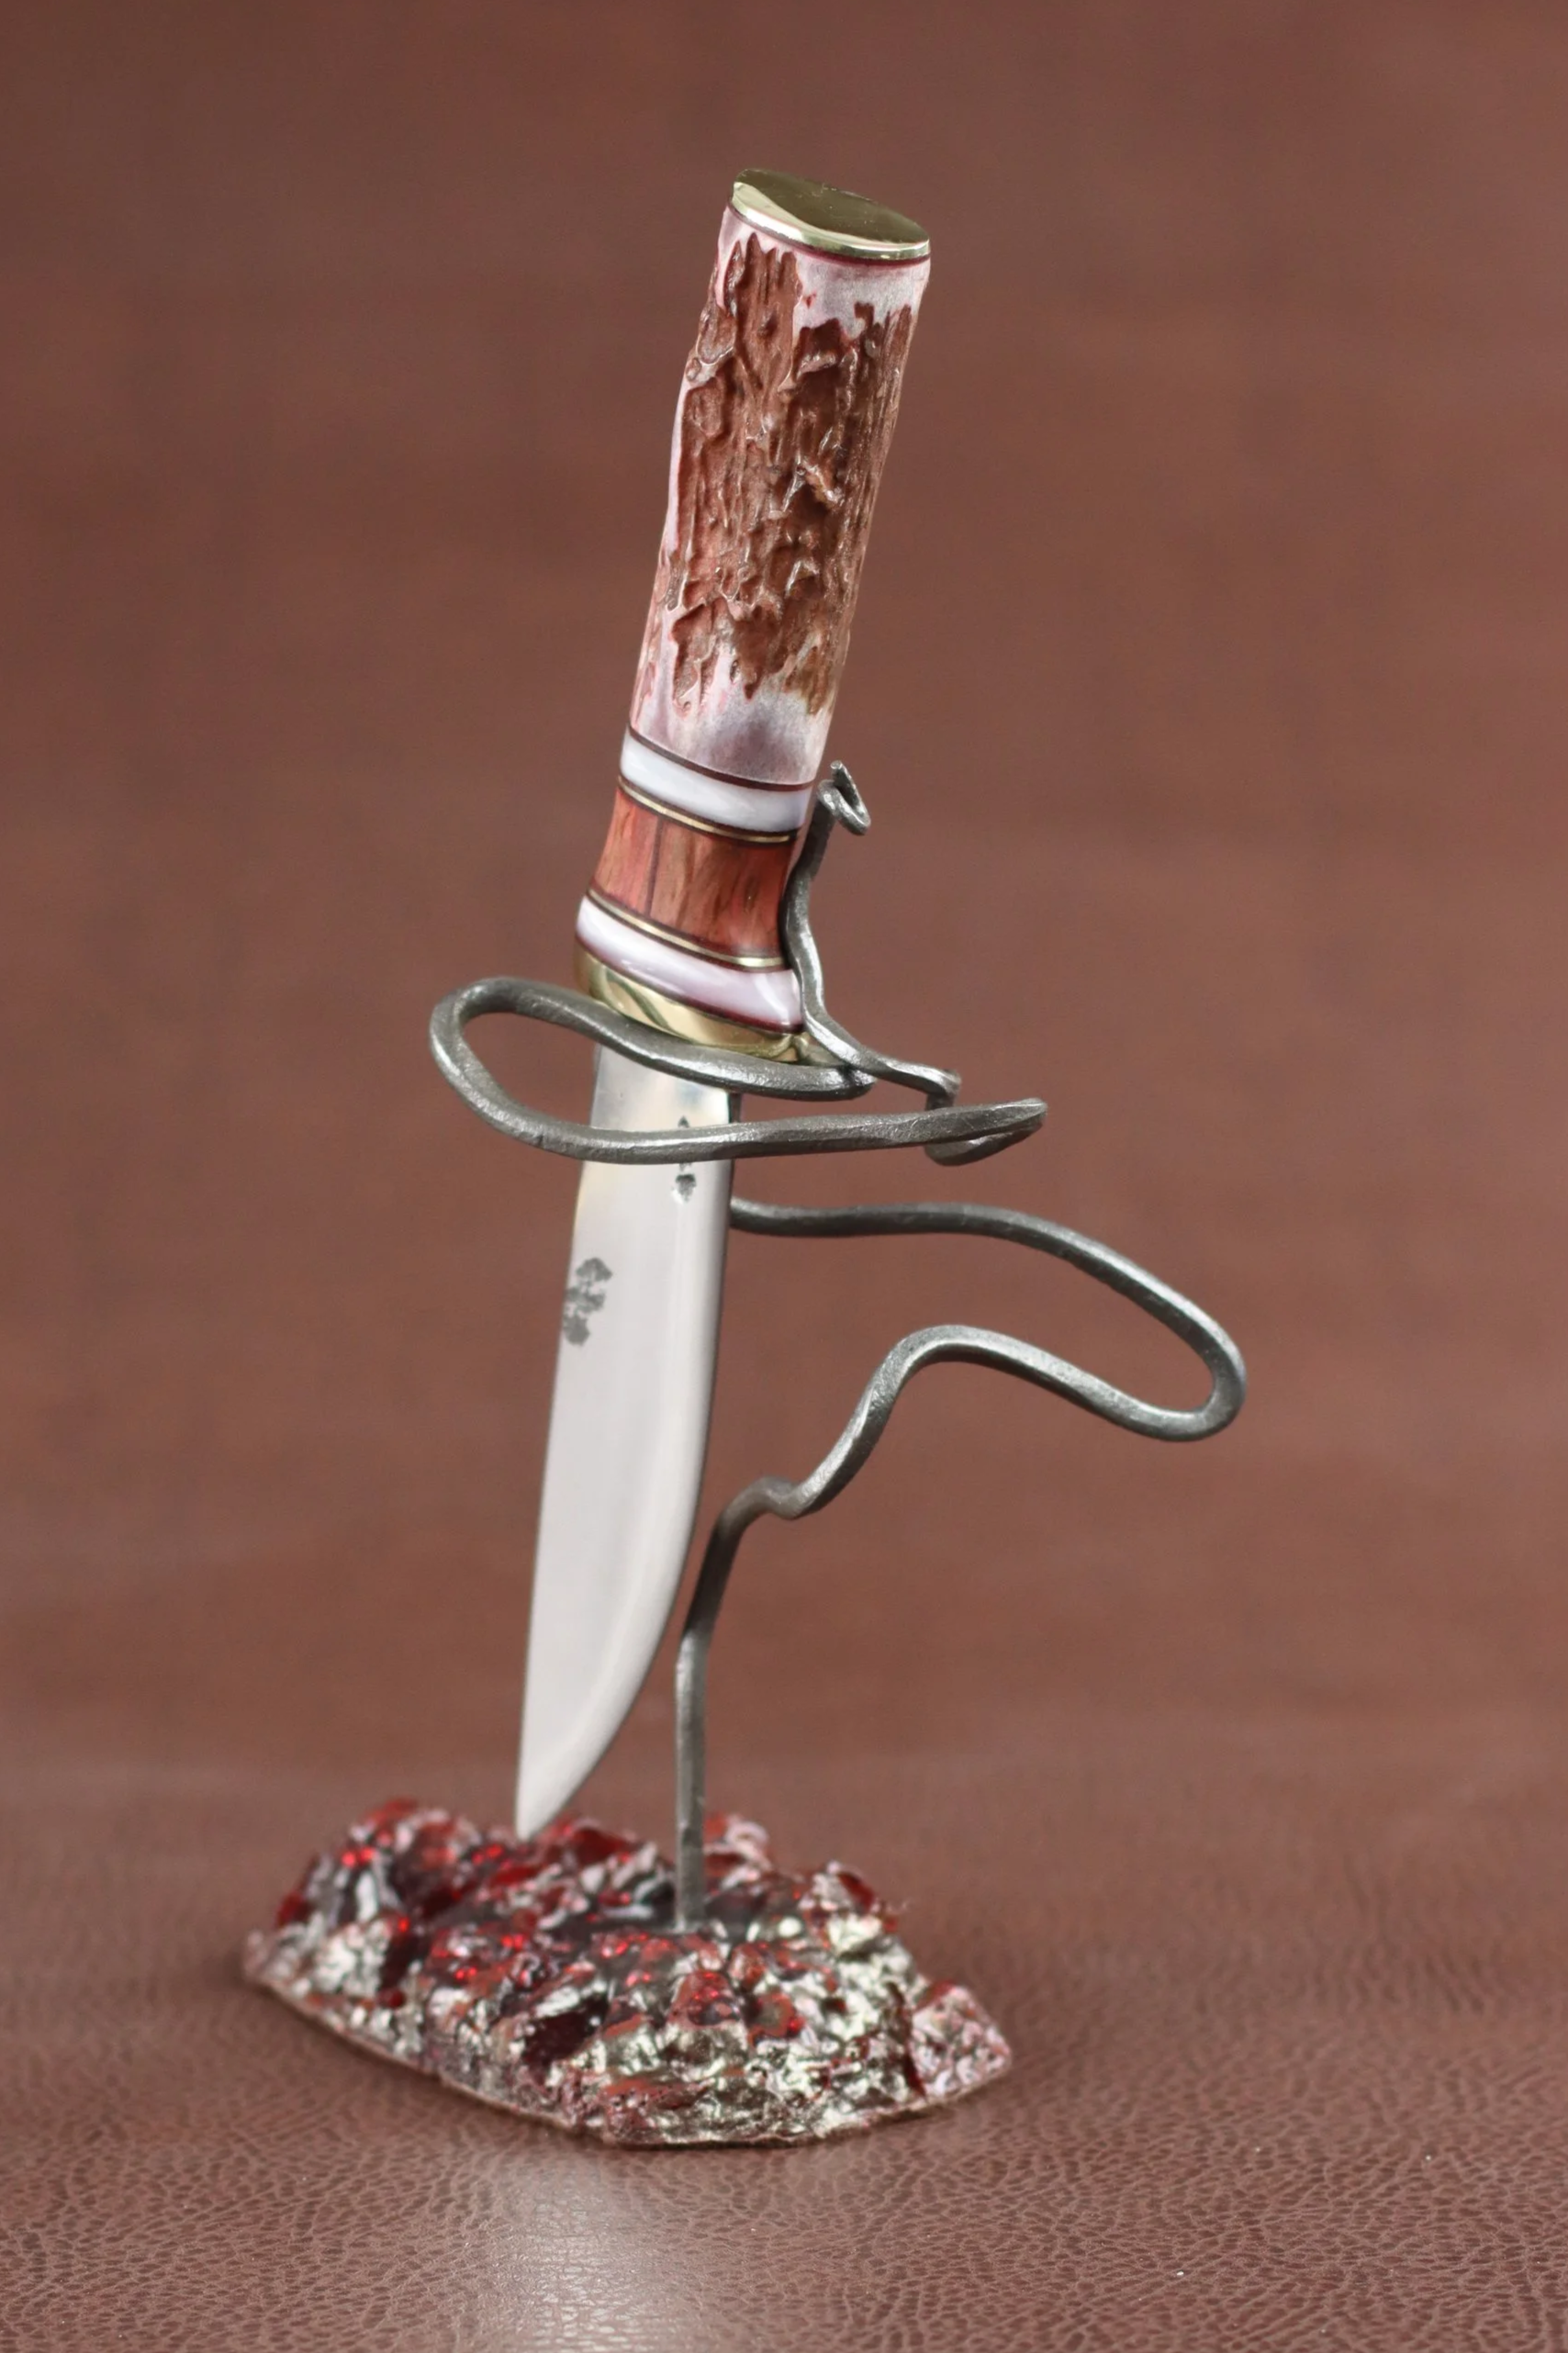 Image 1 of 2
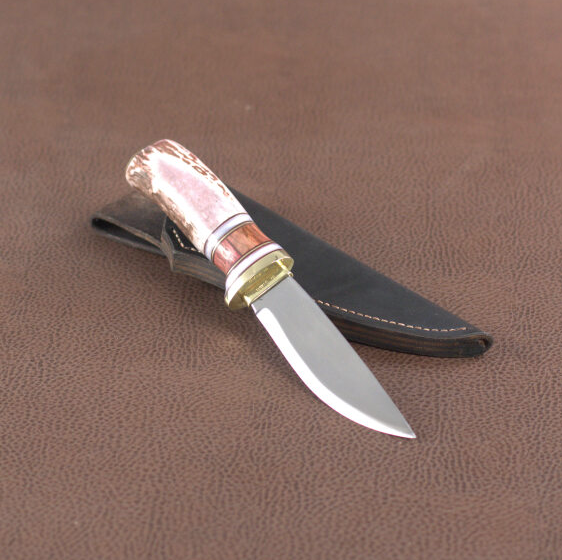 Image 2 of 2